SVG Files in Adobe Illustator
Although it has gotten better over the years, Adobe Illustrator doesn’t automatically produce SVG files completely suitable (or optimal) for websites.
This document is an opinionated process for creating suitable web SVGs. A “suitable web SVG” is one that can be easily and quickly tweaked by a developer by editing the code directly. It is also optimized to make it easy to embed in HTML or CSS files.
A Gentle Reminder: SVG is Code!
Unlike binary image file formats, it is possible to edit the code that generates the SVG image directly. At a minimum, you should feel comfortable with opening the SVG file in a text editor and inspecting the contents.
Editing in Illustrator
For the best results, the Illustrator output should be as clean as possible which will make any further optimizations easier.
Step 1 - Edit the Artboard
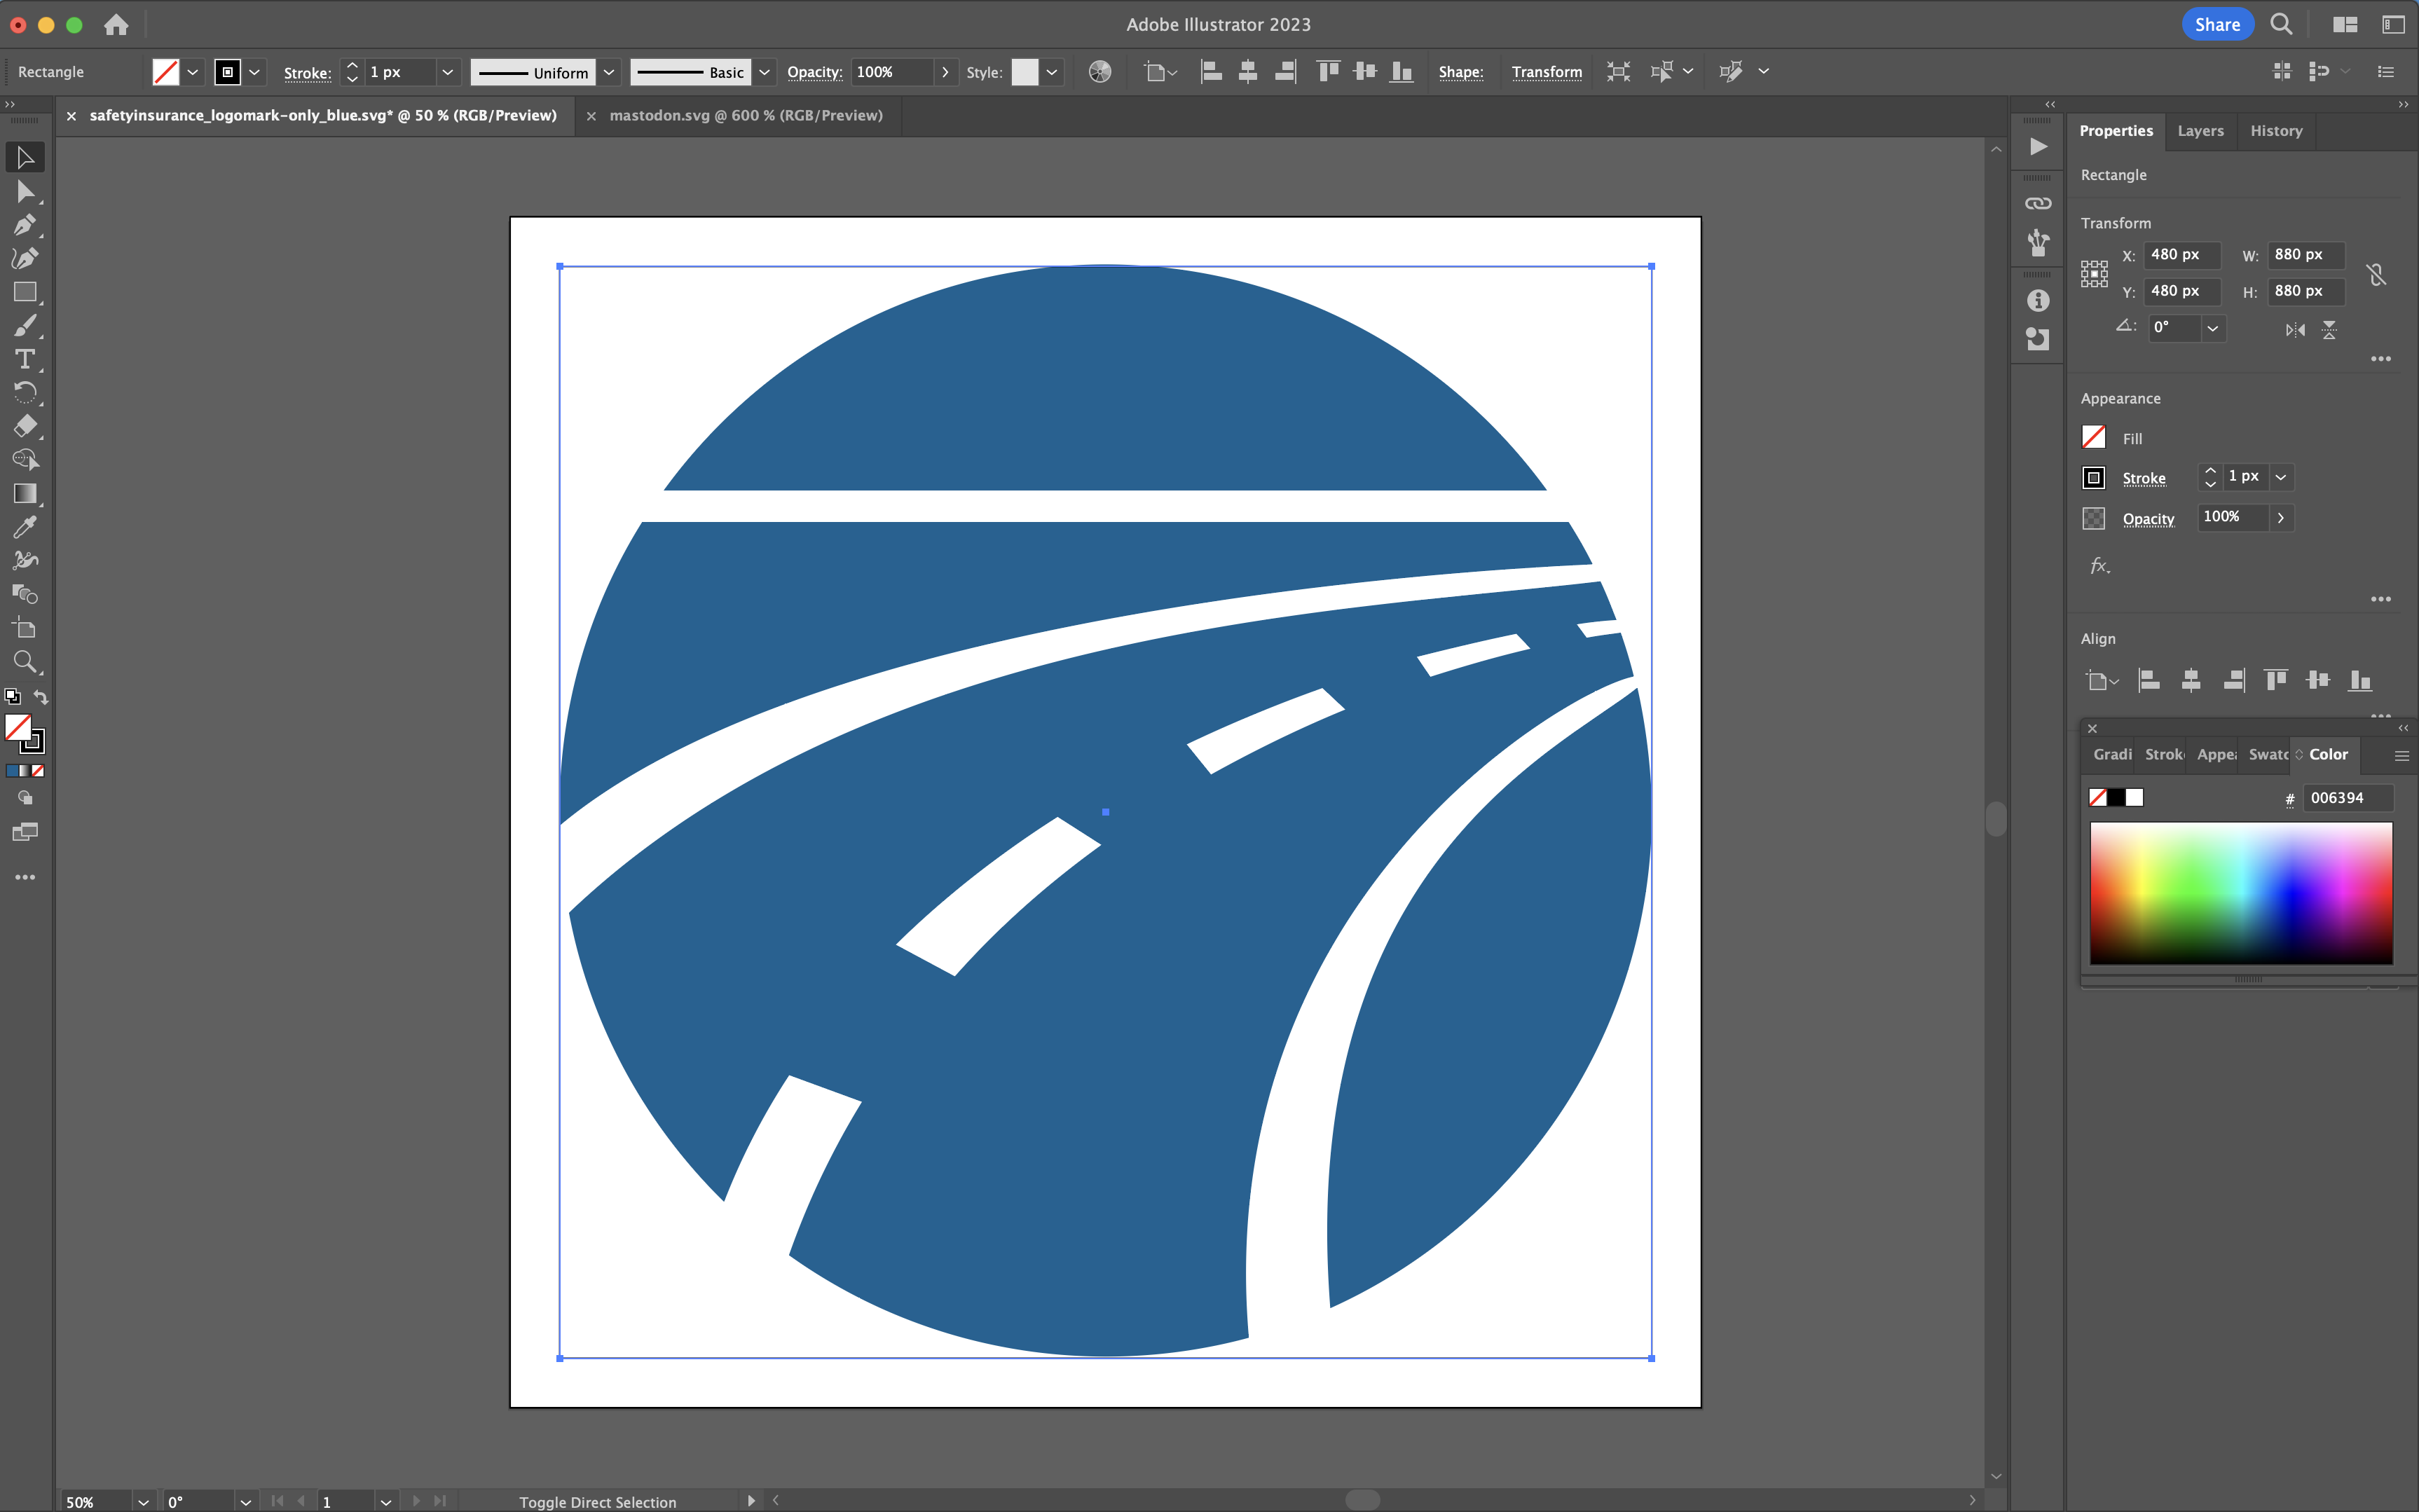
We would prefer the SVG’s viewBox to be large enough to support integer paths. Unfortunately, Illustrator ignores the viewBox and uses the width and height dimensions if you try to edit an existing SVG. So the first step is to contain the image in a suitable viewBox with padding around the actual image.
By convention, make the artboard 960px square. Create two squares: one the full height and width of the artboard (960x960) and another with 40px of padding all around the image (880x880).
Hide these outline squares before saving the image.
If the image is not square, use 960 as the smaller dimension and scale the larger dimension accordingly. Keep the same 40px padding around the entire image.
Step 2 - Export the Image as SVG
Choose File → Export → Export As
In the Export window, make sure Use Artboards is checked (and the correct one is selected).
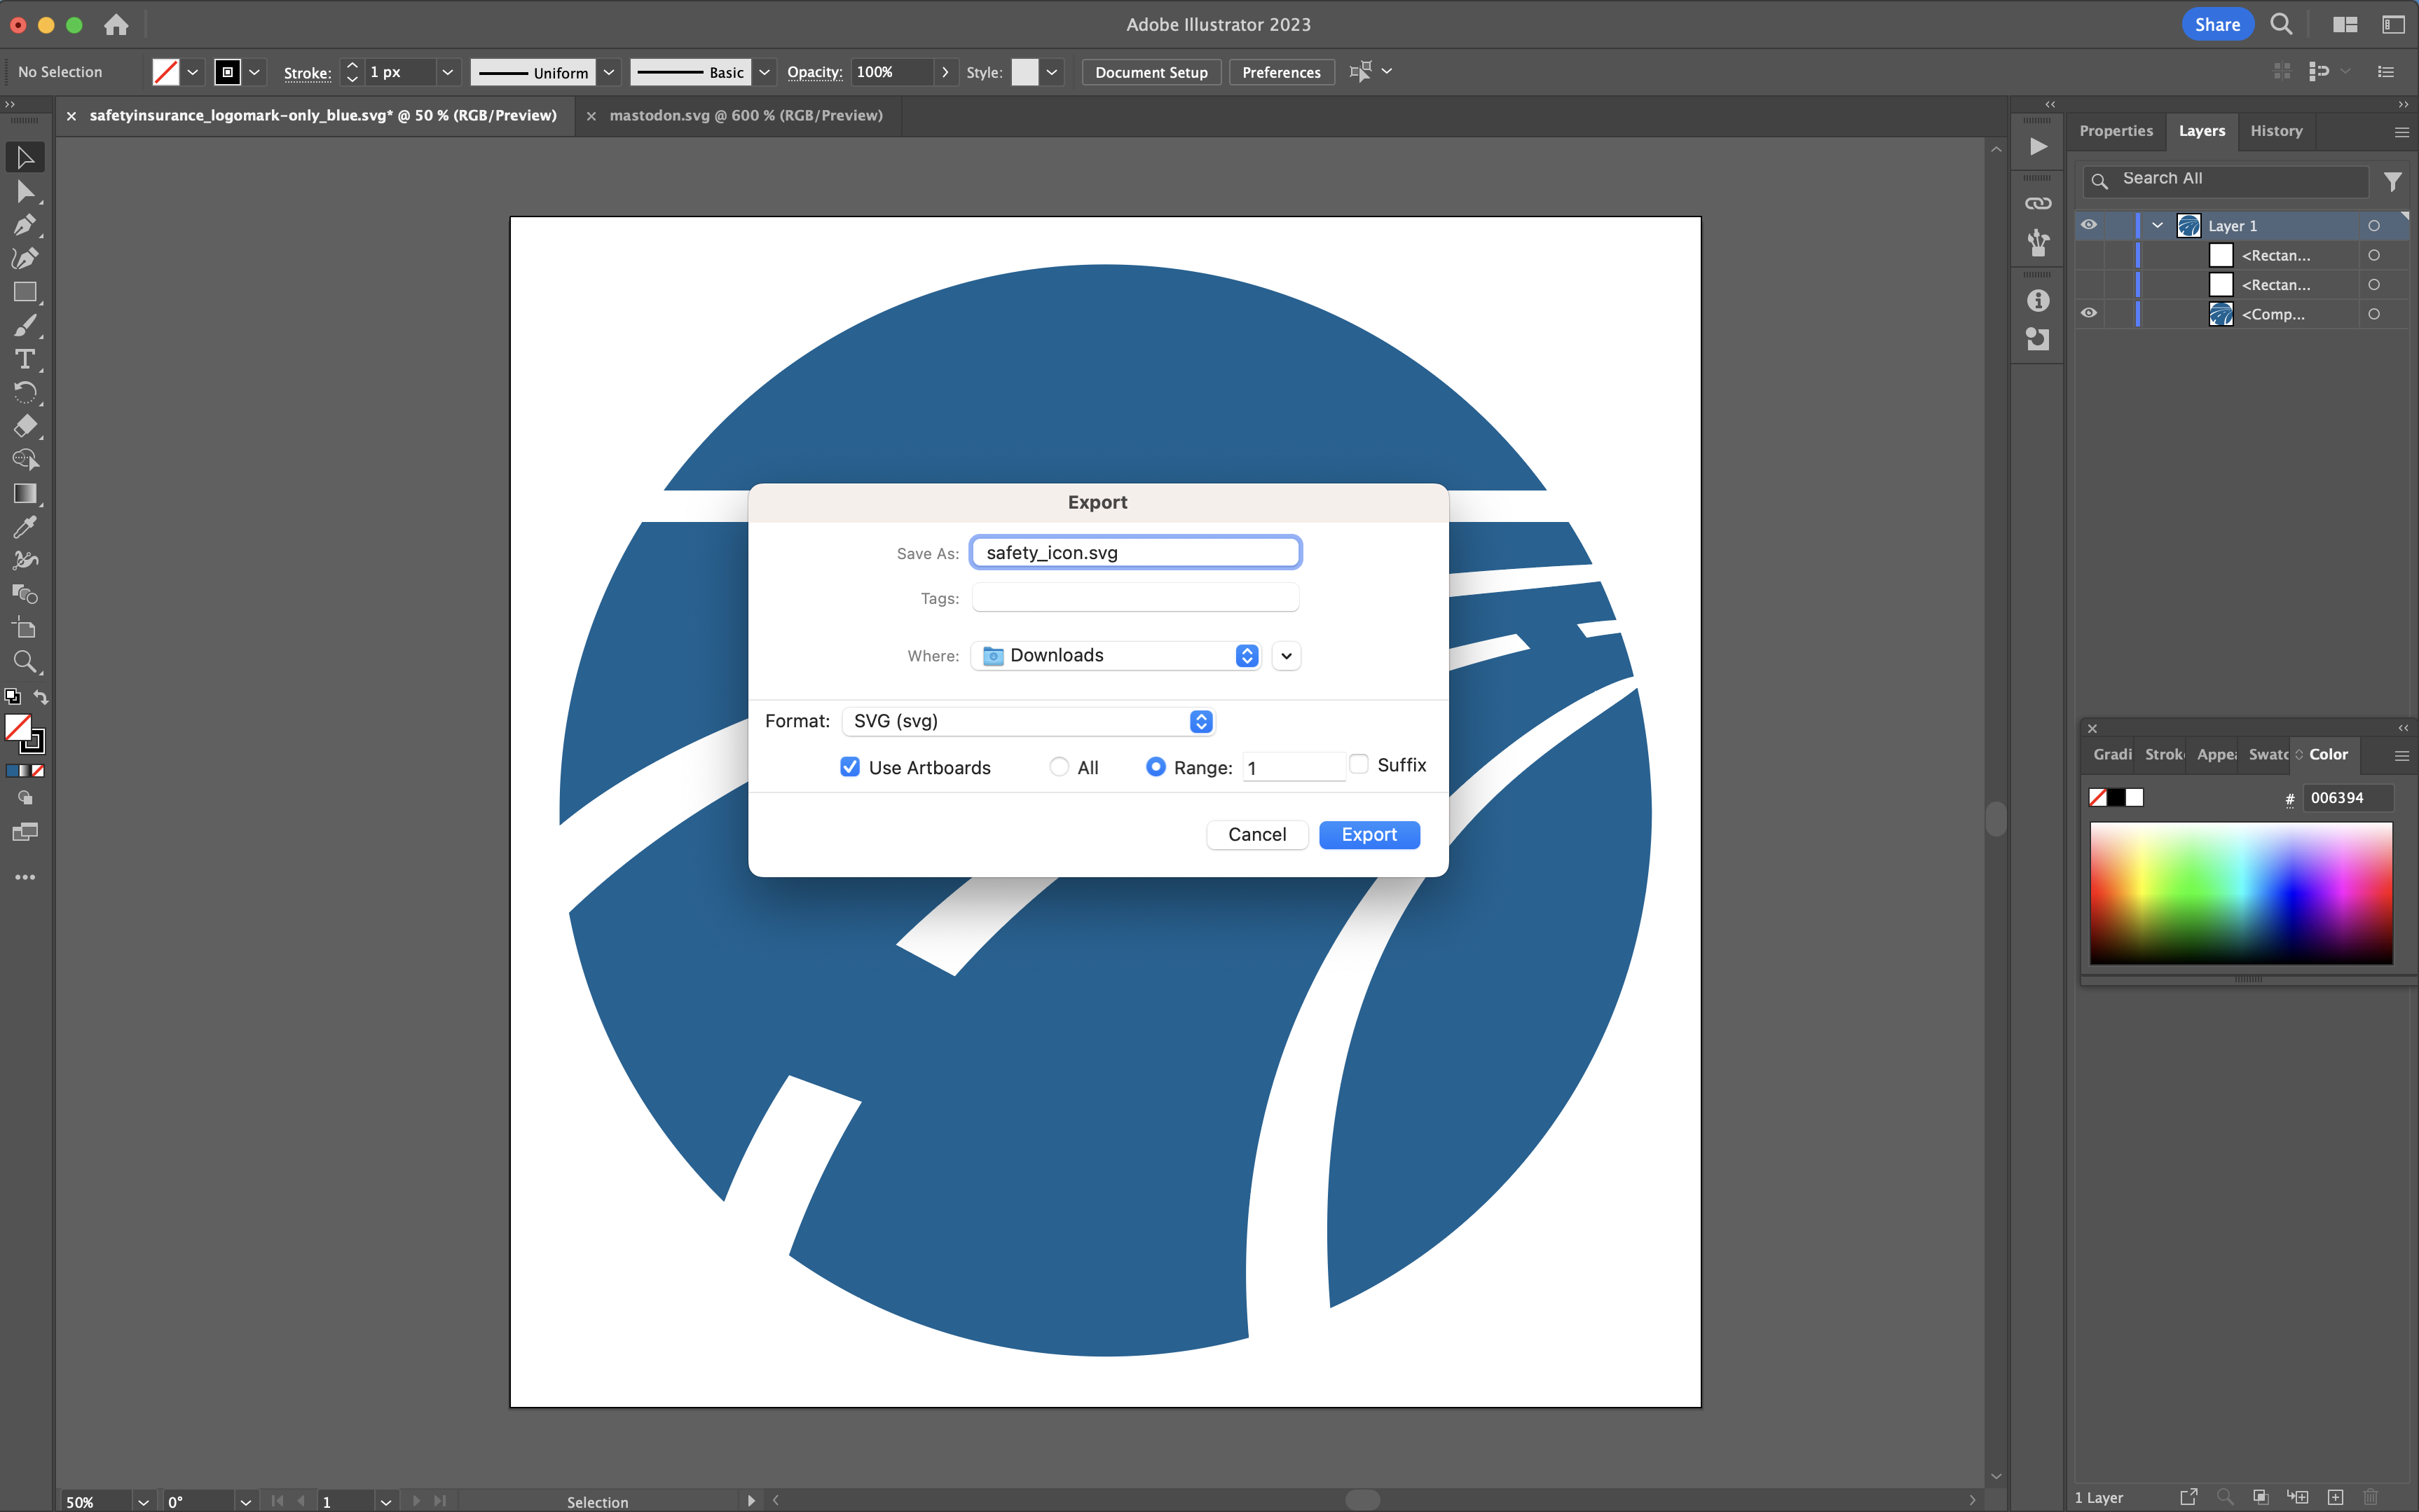
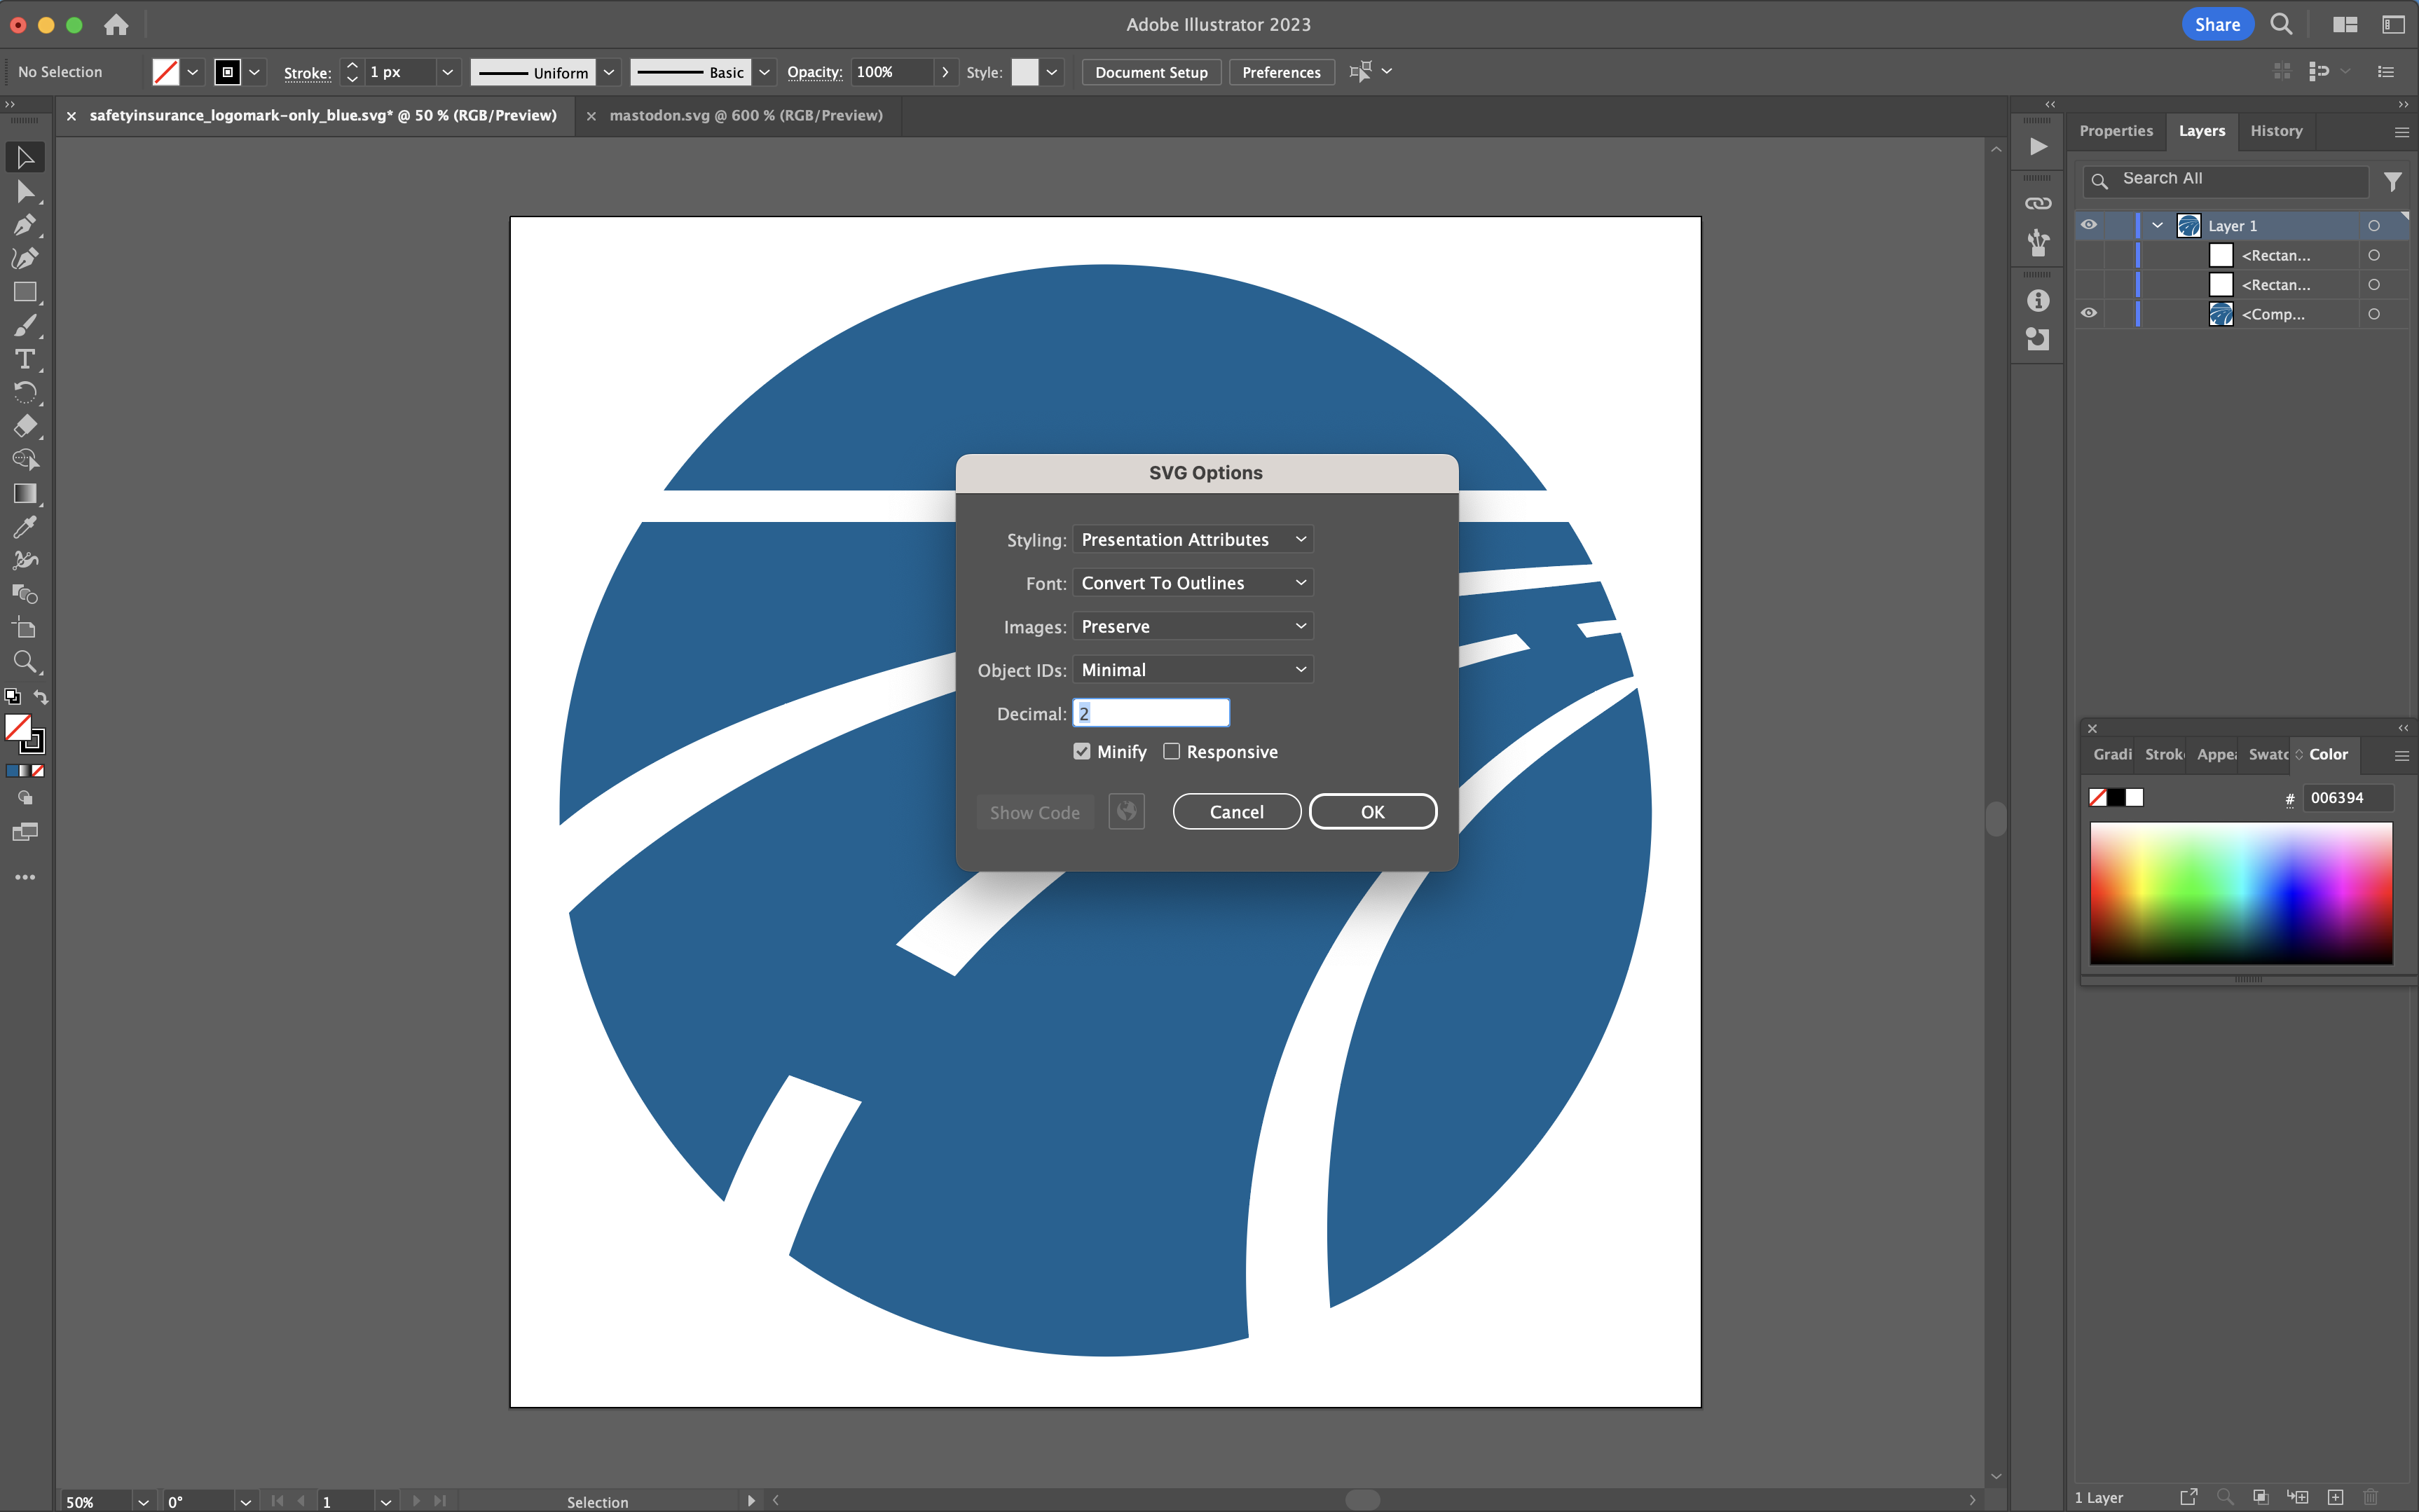
For the SVG Options, Styling can either be Internal CSS or Presentation Attributes. If the image is a single color, Presentation Attributes is a little more straightforward to work with. Fonts should almost certainly be converted to outlines. Object IDs can be Minimal.
Unfortunately, in my experiments even with a large artboard Illustrator manages to corrupt the image if less than 2 decimal places are used in the export.
Select Minify but not Responsive.
Step 3 - Save in Illustrator format!
Finally, save (a copy) of the image in Illustrator format, either .ai or .eps is fine. Otherwise, you’ll have to go through all the above steps every time you need to edit the image!
Optimizing the SVG
Before deploying an svg on a production website, the svg should be optimized, i.e. made as small as possible.
WARNING: Optimization can lead to information loss and therefore should not be part of an automated build process.
Manual Editing Width and Height
Illustrator will output an image width and height that matches the viewBox dimensions. This is probably not what you want! The viewBox dimensions are large to (hopefully) avoid floating point numbers. The width and height attributes are the default pixel dimensions of the image. The web page will use those dimensions as a fallback if CSS is not loaded. For an icon, those numbers should probably be something like 24 or 48, not 960!
Edit the image file in the text editor of your choice and change the width and height values. This can be done either before or after any other image optimizations.
<svg id="a" xmlns="http://www.w3.org/2000/svg" width="24" height="24" viewBox="0 0 960 960">
Using svgo
The Node.js application svgo application can be used to help optimize SVGs (i.e. make them as small as possible).
Out-of-the-box, svgo removes the viewBox attribute, which destroys the ability to resize SVGs with CSS! With the following config file and command, viewBox is maintained and the numerical precision of the paths is set to 0 (integers).
$ npm install -g svgo
$ svgo --config svgo.config.js -o output.svg --input input.svg
When using the tool, take care to make sure the optimization hasn’t adversely affected the image. For example, the default precision of the tool is 3 decimal places (the recommended Illustrator output is two decimal places). Adding -p3 to the command will revert back to the default precision.
Linting with svglint
A linter is a tool that validates the correctness of a code file. The svglint application helps ensure that your SVG files adhere to standards and best practices.
$ npm install -g https://github.com/kcaran/svglint.git
The svglint application uses .svglintrc.js as its default configuration file. With this version, you can place the configuration file in your home directory and use it globally:
$ svglint safety_icon.svg
------------------------------------ Files ------------------------------------
x safety_icon.svg
  x <?xml start tag unnecessary Starting xml tag unnecessary

----------------------------------- Summary -----------------------------------
x 1 invalid files.